
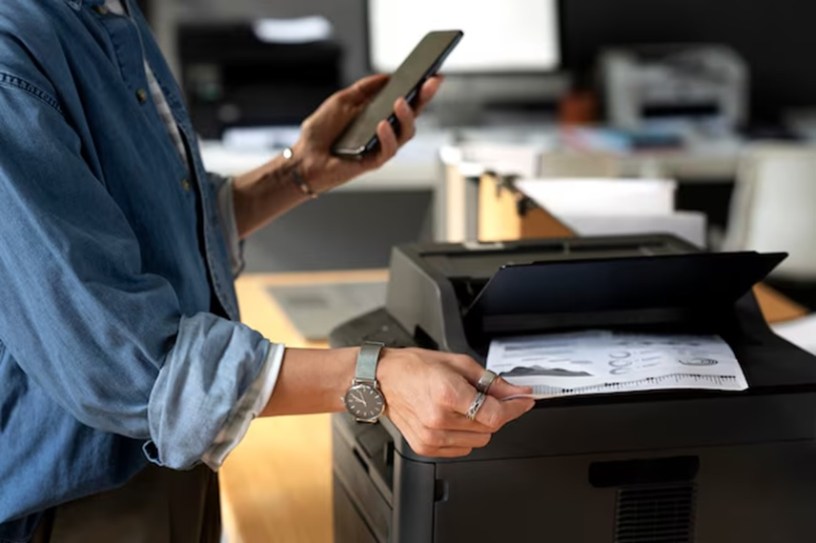
Faxing might seem like a thing of the past, but for many businesses and individuals, it’s still a reliable way to send important documents. What’s more, you no longer need to visit a fax machine to send a fax. Thanks to modern technology, you can now send a fax directly from your iPhone. In this guide, we’ll explore the steps, tips, and tricks to streamline document sharing and faxing efficiently from your iPhone.
Why Faxing Is Still Relevant in 2024
While emailing and cloud-sharing services have taken over most document-sharing needs, faxing still plays an important role in many industries, especially in the legal, medical, and government sectors. Faxing is considered secure, as it transmits documents over a phone line, which adds an extra layer of security compared to online methods. Many businesses still require faxed documents, so knowing how to fax from your iPhone can be a useful skill.
The Perks of Faxing from Your iPhone
Using your iPhone to fax documents offers several benefits:
- Convenience: You can send and receive faxes from anywhere, without the need for a fax machine.
- Cost-Efficiency: Many fax apps offer free trials or affordable subscription models, which are often cheaper than owning and maintaining a traditional fax machine.
- Environmentally Friendly: Sending faxes digitally eliminates the need for paper and toner, helping reduce your carbon footprint.
Choosing the Right App to Fax from Your iPhone
The first step to faxing from your iPhone is choosing a reliable app. Several apps are available, each offering different features. Here are a few popular options:
- eFax: A well-known app that allows users to send and receive faxes. It offers a free trial for new users.
- FaxBurner: This app provides a temporary fax number and allows you to send a limited number of faxes for free each month.
- MyFax: Known for its user-friendly interface, MyFax offers a free trial and affordable subscription plans.
- iFax: With an easy-to-use design, this app allows you to send faxes straight from your iPhone.
When choosing a faxing app, consider the features you need, such as the ability to receive faxes, security measures, and cost.
Step-by-Step Guide to Sending a Fax from Your iPhone
Once you’ve chosen a faxing app, the process of sending a fax is fairly straightforward. Here’s a step-by-step guide to help you:
Step 1: Download and Install a Fax App
Go to the App Store on your iPhone and search for the faxing app you want to use. Download and install it as you would with any other app.
Step 2: Set Up Your Account
Most apps will require you to create an account or sign in. You may be asked to provide your email address and choose a subscription plan (many apps offer free trials).
Step 3: Prepare Your Document
If your document is already saved on your iPhone, simply open the fax app and select the document from your storage. Most apps support a variety of file formats, including PDFs, Word documents, and images. If you need to create a document, you can use the Notes app or scan a paper document using the iPhone’s built-in scanning feature (available in the Notes app).
Step 4: Enter the Recipient’s Fax Number
Once your document is ready, enter the fax number of the recipient. Double-check the number to ensure accuracy, as a wrong digit could send the fax to the wrong person.
Step 5: Send the Fax
After entering the fax number, hit the “Send” button. The app will process your document and send it to the recipient’s fax machine. Some apps will also allow you to add a cover sheet.
Step 6: Confirm the Delivery
Many faxing apps will send you a confirmation once your fax has been successfully delivered. Keep this confirmation for your records, especially if it’s an important document.
Tips for Faxing Efficiently from Your iPhone
To ensure smooth and efficient faxing from your iPhone, keep these tips in mind:
- Use Wi-Fi When Possible: Faxing large documents over cellular data can be slow and may consume a lot of data. Connect to Wi-Fi whenever possible to speed up the process.
- Check for App Compatibility: Ensure the app you choose supports the type of document you need to fax (e.g., PDFs, images).
- Test Before Sending Important Faxes: If you’re sending an important or time-sensitive document, consider sending a test fax to ensure everything is working correctly.
- Monitor Your Subscription: If you use a paid app, keep track of your subscription plan to avoid unnecessary charges. Some apps offer pay-per-fax options if you only need to send faxes occasionally.
Conclusion
Faxing from your iPhone is a quick, cost-effective, and eco-friendly way to send important documents. With the right app and a few simple steps, you can streamline document sharing and ensure your faxes are sent and received without any hassle. Whether you’re faxing for business or personal reasons, your iPhone offers an easy solution to manage faxes efficiently.
